Today, we will discuss the steps of the concrete slump test, data analysis, and the precautions for the concrete slump test.
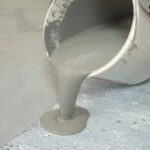
Concrete slump mainly refers to the plasticizing performance and pumpability of concrete. Factors affecting slump include grading changes, water content, weighing deviations of scales, and the amount of admixtures. Often overlooked factors include the temperature of the cement. Slump refers to the workability of concrete, which ensures normal construction, including concrete's water retention, flowability, and cohesiveness.
Workability refers to whether concrete is easy to operate and compact uniformly during construction. It includes flowability, cohesiveness, and water retention. Factors affecting workability include water content, water-cement ratio, sand rate, and aspects such as cement type, aggregate conditions, time, temperature, and admixtures.
The concrete slump should be determined based on the structure section, reinforcement content, transport distance, pouring method, transport method, vibration capability, and climate conditions. When selecting the mix ratio, it should be comprehensively considered, and a smaller slump should be used.
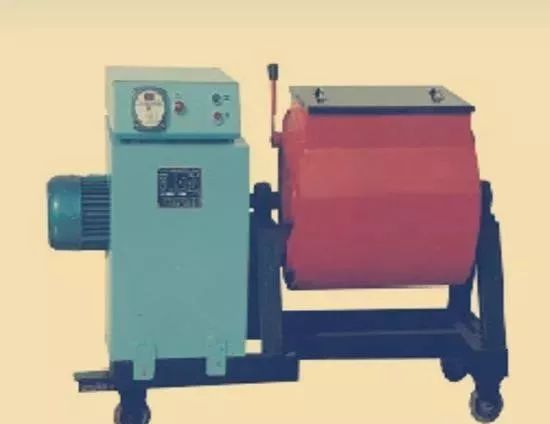
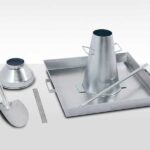
Equipment for Slump Test
- Small concrete mixer and slump cone for laboratory use.
- Two steel rulers with a minimum length of 300mm and a graduation value not exceeding 1mm.
- A base plate with a minimum plane size of 1500mm x 1500mm and a thickness of not less than 3mm. The maximum deflection should not exceed 3mm.
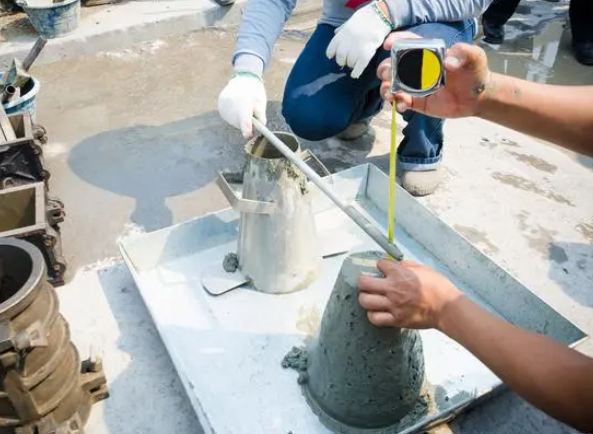
Steps for Slump Test
- Clean the inside and outside of the slump cone before the test, place it on a wetted flat plate (place plastic sheeting if the plate absorbs water), and step on the footplate firmly.
- Fill the representative sample into the cone in three layers, with each layer's height slightly greater than one-third of the cone height. Use a tamping rod to uniformly tamp each layer 25 times across the cross-section. Tamp in a spiral from the edge to the center. When tamping the bottom layer, tamp to the bottom. For the other two layers, tamp through the current layer and into the lower layer by about 20mm to 30mm. Tamping must be vertical (except at the edges) and should not impact. When tamping the top layer, the concrete should protrude above the cone mouth, adding mix as needed during tamping.
After tamping the top layer, use sawing and rolling actions to remove excess concrete with the tamping rod, smooth the cone mouth with a trowel, and clean the surrounding mix. Then, lift the cone vertically within 5s to 10s, ensuring no lateral or torsional forces on the concrete. Complete the entire process from filling to cone removal within 150s. - Place the slump cone next to the conical concrete sample, lay a wooden ruler flat on the cone top, and measure the vertical distance from the ruler bottom to the highest point of the sample with a small steel ruler. This is the slump of the concrete mix, accurate to 1mm.
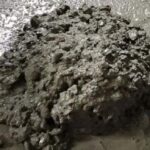
- If the concrete specimen collapses or shears on one side, retake the sample and retest. If it happens again, it indicates poor workability, and you should record it.
- If the concrete mix slump exceeds 220mm, measure the maximum and minimum diameters of the spread concrete with a steel ruler. If the difference between these diameters is less than 50mm, use their arithmetic average as the slump flow value; otherwise, the test is invalid.
Precautions
- Control the cone lifting process within 3s to 7s. The entire process from start to finish should be continuous and completed within 150s.
- If the concrete collapses or shears on one side after lifting the cone, retake the sample and retest. Record and explain if it happens again.
- Measure the concrete mix slump value to an accuracy of 1mm, rounding the result to 5mm.
Determining Concrete Workability
- Flowability: Measure slump.
- Cohesiveness: Tap the cone sides with a tamping rod.
- Water Retention: Observe the degree of slurry.
concrete slump choice
| Type of structure | Slump/mm |
|---|---|
| Cushion layers for foundations or ground, large unreinforced structures (such as retaining walls and foundations), or sparsely reinforced structures. | 10-30mm |
| Slabs, beams, and columns with large and medium cross-sections. | 30-50mm |
| Densely reinforced structures (such as thin walls, hopper bins, silos, and slender columns). | 50-70mm |
Note:
a. The above data applies to the slump of mechanically vibrated concrete. Increase the slump appropriately when manually compacting concrete.
b. Use admixtures when high-slump concrete is needed.
c. Determine the slump of curved or sloped structures according to actual requirements.
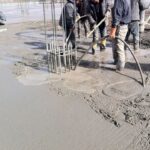
d. The slump for pumped concrete should be between 80-180 mm.